.png)
GitHub Copilot’s new agents have sparked plenty of conversation this year — and it’s no surprise. They represent a meaningful shift in how teams approach software development.
It’s no longer just about autocomplete suggestions. Instead, you now have an assistant capable of understanding a project’s context, planning tasks, and executing changes from start to finish. This introduces a more agile, collaborative workflow that focuses on what truly drives value.
In this blog post, I’ll show you how to use them through a real example: applying design changes to a simple task application.
How to Use GitHub Copilot Coding Agents
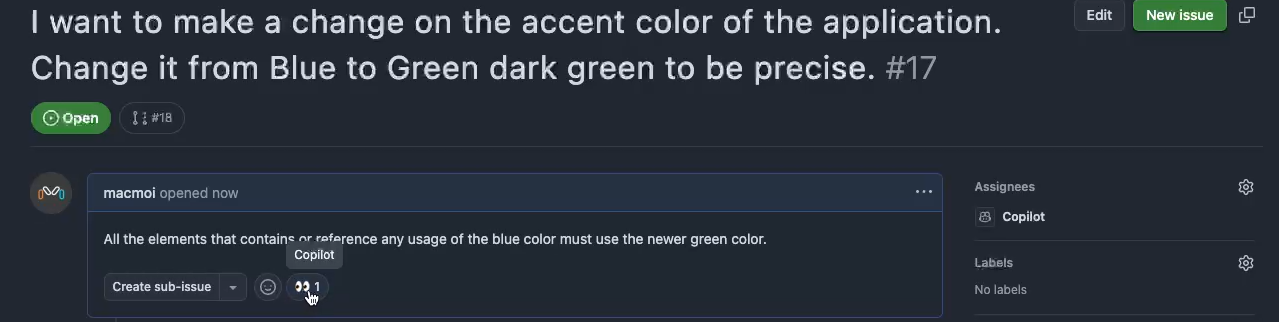
1. Create a new issue
Inside your GitHub project, create a new issue — one of the ways you can interact with Coding Agents — and write your request in the Add a title field. In Description, you can provide additional details or specifications if needed.
For this example, I requested a color change in my test application, from blue to dark green.

2. Assign the issue to GitHub Copilot
On the right-hand side, in the Assignees section, assign the issue to the GitHub Copilot agent and click Create.

You’ll then see the “👀” emoji appear in the issue. This means GitHub Copilot has detected the assignment and is generating a Work In Progress pull request, indicating that it has started working on your request.
3. Review the agent’s progress
In that same pull request, you can track the agent’s work in real time by clicking View session. The interface will show you the step-by-step process, including the analysis and context the agent needs to carry out your request.
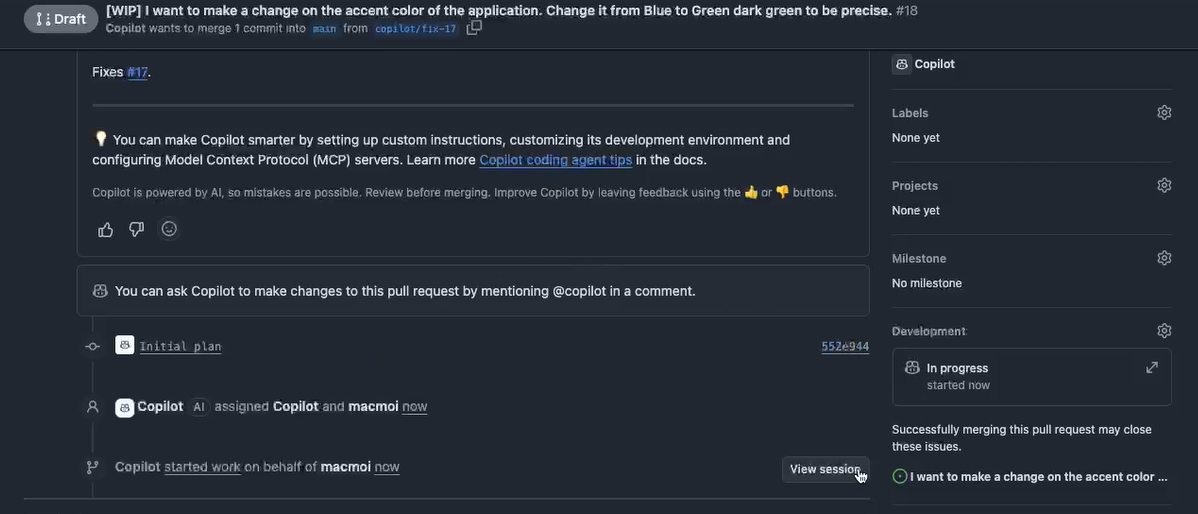
In this case, it reviewed every repository, folder, and file to understand the structure of the application where I requested the color change.

4. Review the agent’s results
Once Copilot finishes both the exploration stage and the execution of the requested change, you’ll see a complete summary generated by the agent, detailing everything it modified — including reference screenshots.

Inside the same View Session, you’ll also find the full process breakdown, which helps you understand how the agent reached the final result. Depending on the complexity of your request, this can be fairly extensive.
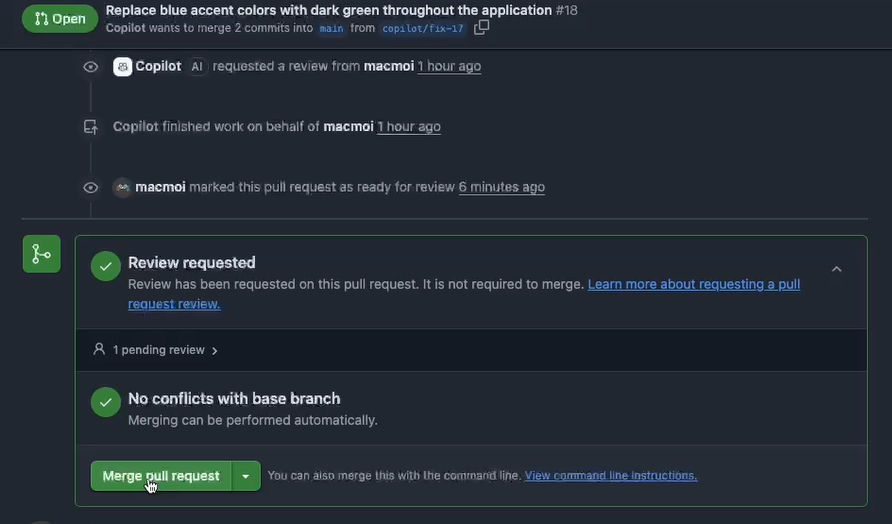
5. Apply the changes
Inside the pull request, click Merge pull request to apply the changes made by the agent to your application.
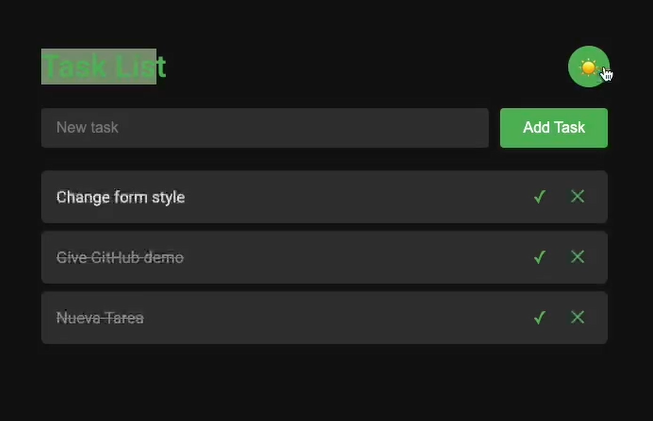
The updated functionality worked exactly as described in the initial request: the color changed from blue to green, and a dark mode was included as part of the update.

A Step Forward in Software Development
Working with GitHub Copilot’s agents has shown me how AI-driven automation can simplify workflows, save time, and significantly reduce human errors.
Beyond this practical example, I encourage you to explore this technology, which marks the beginning of a new era in our relationship with artificial intelligence — one where developers focus on creativity and strategy, while operational tasks are delegated to agents.

.png)
